Thursday, December 29, 2011

Old World Manicotti


Old-world manicotti holds some sweet childhood memories for me. When we were young, my mother's friend would visit our family and each time, she would make some type of pasta for us. It was then that I first had manicotti and I've loved it ever since. I made it myself for the first time when I was holding a little gathering. I was digging through my piles of recipe cards when I found this one:


I just knew I had to make it. Though it tasted as amazing as I remembered it to be, I ran across a big problem while making it. All the manicotti shells had broken while they were being boiled!


I decided that to solve this, I had to pipe the manicotti filling onto the shell as planned. But then, I would wrap the two edges of the shell around the filling and place it seam side down on to the dish. This proved to be successful! So if any of you decide to try this recipe out, don't worry about the problems. They can all be fixed and as my dad loves to say, "It all looks the same in your stomach anyways."


Sadly, I don't have any pictures of the final dish for you guys. We were too busy digging in to take pictures. But, do enjoy the recipe card from Grandma's Kitchen! Best of luck,

Wardah

Tuesday, December 27, 2011

DIY: Creative, Easy Centerpiece


If you want to create your own fun and creative centerpiece, a can of soda can be a surprising but lovely -and inexpensive- choice to brighten up any party. Not only do they look festive and chique, but are also very good conversation starters. These easy centerpieces can be low, so they will not block overhead conversation and view, but they can also be tall to create a more dramatic appeal.


What You'll Need: 

Soda cans
Can openner
Knife
Floral tape or wire
Pebbles or small rocks
Water
Flowers
Ribbon (optional)

Step 1: Prepping the Cans

     - Start by emptying your soda can of its contents.
     - Remove the popper and use a can opener to remove the lid of the can.
     - Note: Using a can opener on a soda can may be tricky because of its thin material. Do not apply too
       much pressure to the empty can or it will dent. Your can opener might leave permanent dents or
       punctures on the rim of the can as it moves around, but do not worry; they can be covered.
     - Wash out the can and fill it halfway with water.
     - Place a rock at the bottom of the can to secure it from tipping over from the weight of the flowers.

Step 2: Assembling and Securing the Flowers 

     - Remove excess foliage and thorns from the stems of the flowers.
     - Hold the flowers in your hand and create the arrangement by adding flowers one by one. You can
       place the flowers at different heights to create a fuller appearance or create a dome effect by slightly
       lowering the flowers on either side of the center flower after each addition. 
     - Be careful to equally balance the flowers on each side of the arrangement or the can will tip.
     - Using the floral tape or wire, bind the stems at the natural spot where they join.

Step 3: Measuring and Cutting the Centerpiece 

     - Measure the arrangement alongside the can to gauge how much you'll need to trim.
     - Cut the stem in your desired length at an angle so the flower can better absorb water.

Step 4: Finishing the Centerpiece 

     - Gently place the arrangement inside the can.
     - Keep the arrangements misted and in a cool place away from heat and light until you are ready to use
       them.


Wednesday, December 21, 2011

Vegetarian Enchiladas


Hello and happy holidays everyone! 

How is everyone enjoying their break? I'm certainly enjoying mine. It's been highlighted with loads of laughter, good times, and even better food. Speaking of good food, one mouth watering dish that has been on my mind recently is vegetarian enchiladas. After being constantly bombarded with thoughts of enchiladas, I finally decided to give it a go, making vegetarian enchiladas as to suit my entire family's tastes.

In the process of making the enchiladas, I snapped a few quick shots so I could share it with everyone. So, enjoy my rendition of the classic enchilada!

Vegetarian Enchiladas
Serves 6

16 oz. sour cream
16 oz. cream cheese
1 can of black beans
1 cup cooked rice
1 cup chopped green onions
1/2 cup jalapeno peppers
salt and pepper (optional)
12 tortillas
1 can enchilada sauce
shredded Mozzarella cheese

1. Make filling:

Mix sour cream and cream cheese together until smooth.
Drain and mix the beans in.
Mix in the cooked rice.
Add in the jalapeno peppers and green onions. Add salt and pepper to taste (optional).
2. Preheat oven to 400 degrees. Lightly oil a 9" by 13" baking dish; set aside. Warm tortillas on stove. Top each tortilla with a heaping of filling; roll up tightly and arrange, seam side down, in prepared baking dish.


3. Top with sauce and dividing evenly, sprinkle enchiladas with cheese. Bake, uncovered, until hot and bubbly, and cheese has melted, 15 to 20 minutes.


4. Cool for 5 minutes before serving. Enjoy!

Love,
Wardah

Thursday, September 15, 2011

Daring Cooks' Spinach Bisque and Bread Sticks


Recently, I decided to join the cooking and baking phenomenon called the Daring Kitchen. The Daring Kitchen hosts challenges to members asking them to cook and/or bake a specific item every month. Peta, of the blog Peta Eats, was our lovely hostess for the Daring Cook’s September 2011 challenge, “Stock to Soup to Consommé”. We were taught the meaning between the three dishes, how to make a crystal clear Consommé if we so chose to do so, and encouraged to share our own delicious soup recipes! The challenge this month required us all Daring Cooks to make stock and turn it into their favorite soup along with an accompaniment.

A favorite soup recipe of mine comes from the blog Naturally Ella. The soup, spinach bisque, is considerably easy to make and has few ingredients. This time, I substituted half and half with regular milk and used mozzarella cheese as my choice of cheese. The best thing to boot about this soup is the flavorful aroma that comes from frying the diced onion in butter. It is mouthwatering. The only thing I would change from this recipe would be to decrease the amount of spinach used; too much spinach can make the soup hard to swallow.


I decided to make garlic knots as an accompaniment to the soup but mid-recipe, I changed track. Instead, I just made made round loaf herb bread sliced into long sticks.You can find the recipe below.

The white chicken stock I made turned out to be very flavorful, which contributed to the delicious soup's flavor and aroma.

Waiting for the dough to rise..
In all though, I was pleased with my results, especially with the tangy, flavorful soup. I would recommend this soup to be made for any occasion, over and over again. So, make sure to try it out folks! Best of luck,

Wardah

Herb Bread

1 3/4 c (415ml) Warm Water (@115°F)
1/4 c (55g) Olive Oil
1 t (5g) Sea Salt
1 T (15g) Sugar
1 1/2 T (20g) Active Dry Yeast
approx. 5 1/2 c (750 g) all-pupose, unbleached Flour
Herbs of your choice to add to dough
1. Dissolve yeast in warm water.
2. Combine olive oil, sea salt, sugar, and flour in seperate mixer or bowl.
3. Mix to incorporate flour and add dissolved yeast and herbs. Cover with a thin wet cloth and set in a warm spot to proof until doubled in volume (usually 1-3 hrs depending on initial water temp and warmth of proofing area).
4. Chill the dough for a bit (will keep fine in fridge for several days if you want to make the dough ahead of time) to make it easier to handle (this can be skipped if you don’t have the time). At this point, you can either oil and flour your hands and shape the dough into two round loaves or make a rectangular shape and slice dough into strips to make authentic bread sticks. Put container of flour within easy reach. Line several sheet pans with parchment paper or foil to place bread sticks or loaves on.
5. Sprinkle dough strips and board with flour. Flour is your friend to help keep the dough from sticking to itself.
6. After each sheet pan fills up, cover with a dry sack towel, and place in a warm, draft-free spot to rise. The loaves will double in size and may end up touching each other if on the same pan. If this does happen, don't fear because the loaves will still look beautiful when they have been cut. Preheat oven to 400° F
7. After dough has doubled in size, take off dry sack towel and place sheet pans in the oven.  Bake for approx. 12-15 min. for sticks or until golden.
8. After removing bread from oven, season with sea salt to taste.

Best served warm, but still good when at room temp.

Tuesday, September 13, 2011

Pâte à Choux Swans

Crispy outside, sweet creamy inside. The description of a fresh cream puff. Yummyy.


This is Mehwish again, back with a recipe for a light, fun dessert.

Making cream puffs is a very enjoyable (and rewarding!) experience. This time when I ventured into the kitchen with cream puffs in mind, I decided to change it up a bit.


 Instead of making the regular round cream puffs filled with cream, I made: pâte à choux swans.

That sounds so much better than swan cream puffs ;)


Anyways, on to the recipe! These swans are NOT very difficult to make. And they taste amazing. Especially if you behead them first, then devour the wings and proceed on to the rest of the body (I don't sound like an ex-vegetarian at all, do I?).

;)

I really recommend you try this recipe. You will thank me, I'm sure.


Pâte à choux swans

1 cup water
1/2 cup butter (1 stick)
pinch of salt
1 cup all-purpose flour
4 eggs
sweetened cream


In a heavy saucepan over medium heat, bring the water, butter and salt to a boil. 


Add flour all at once; stir until a smooth ball forms. Remove from the heat; let stand for 5 minutes. 


Add eggs, one at a time, beating well after each addition. Beat until smooth and shiny.


Cut a small hole in the corner of pastry bag or heavy-duty resealable plastic bag; insert round pastry tip (small to medium size). Fill bag with batter. On a greased baking sheet, pipe 3 dozen 2-in.-long "S" shapes for the swan necks, making a small dollop at the end of each for the head. Bake at 400° for 5-8 minutes or until golden brown. Remove to wire racks to cool.


For swan bodies, use star tip to pipe 36 tear-shapes, 1-inch apart onto greased baking sheets. Bake at 400° for 30-35 minutes or until golden brown. Cool on wire racks.


Meanwhile, prepare sweetened cream. I didn't get a chance to go grocery shopping so I used what I had at home: Cool Whip and sugar powdered in a food processor.


Cut off top third of swan bodies; set tops aside. Remove any soft dough inside. Pipe filling into puffs. Cut reserved tops in half lengthwise to form wings; set wings and necks in filling. Dust with confectioners' sugar, serve.


Makes 3 dozen swans.

Sunday, August 28, 2011

Cheesy Goodness: Lasagna!

You know it's been too long since you last made lasagna when you stop by the cheese section at the grocery store to daydream.


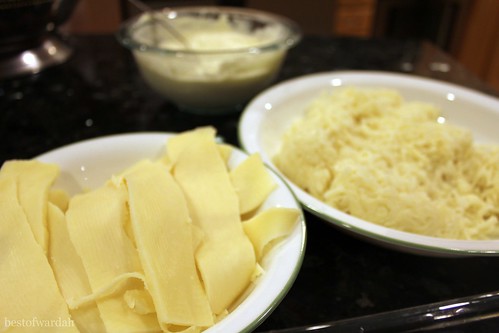
I got the chance to make lasagna when I was invited to a sleepover (AKA a Qiyam) at a friend's house. When I went shopping for the ingredients, I chose monterey jack cheese, mozzarella cheese, and ricotta. I also picked up some mushrooms for the sauce.


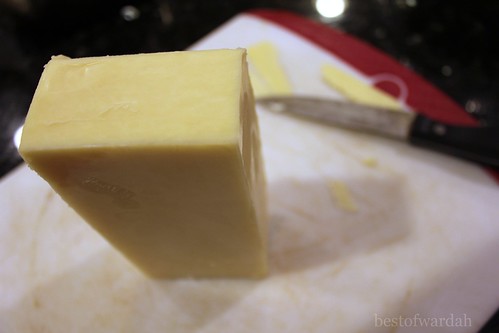
Back at home, I prepared the sauce and sliced the jack cheese while the lasagna noodles boiled.


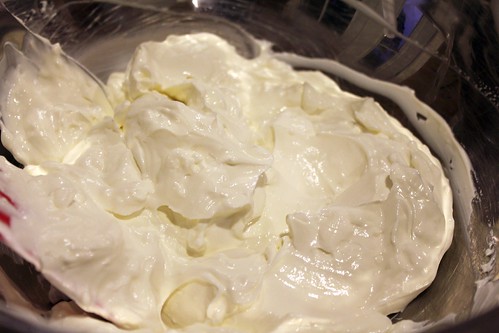
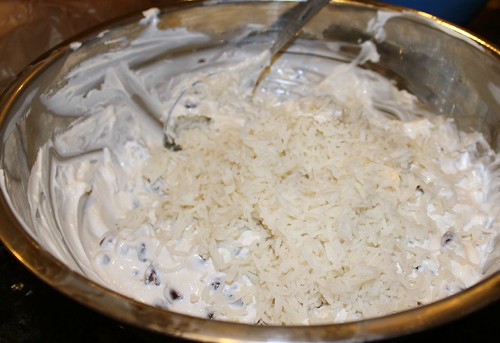
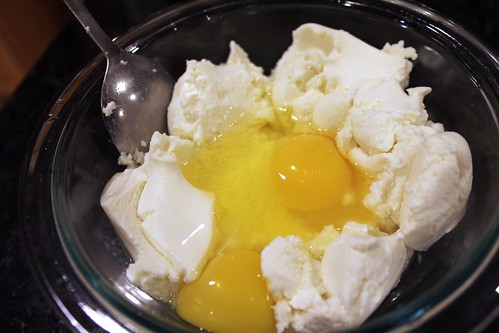
I also beat the ricotta with a couple eggs. Done with the cheeses.


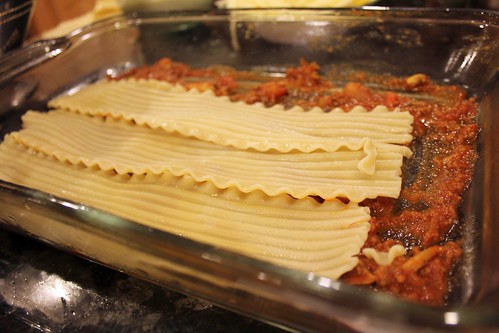
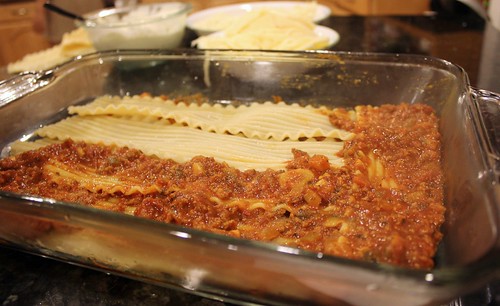
Next step: layering! Start by spreading some sauce on the bottom of the dish you will be using for the lasagna. This keeps the bottom layer from sticking.


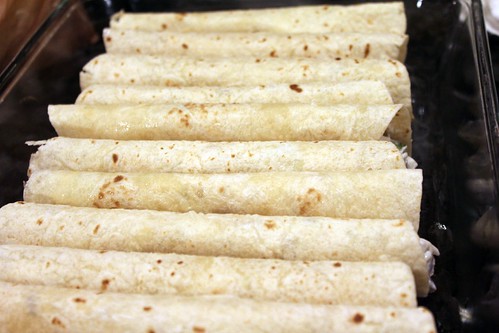
Place some lasagna noodles on the sauce, overlapping them. Cover these with more sauce.


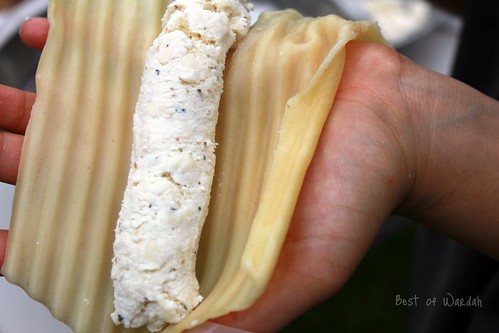
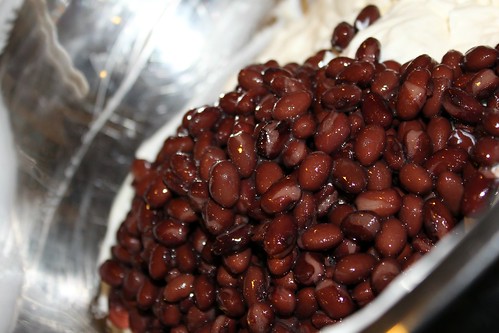
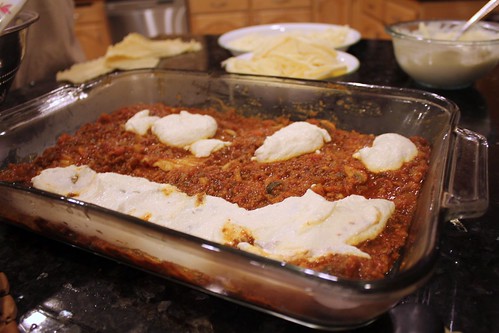
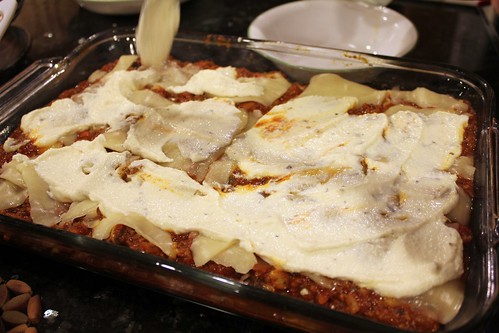
Using a spatula, spread some of the ricotta mixture on the sauce.
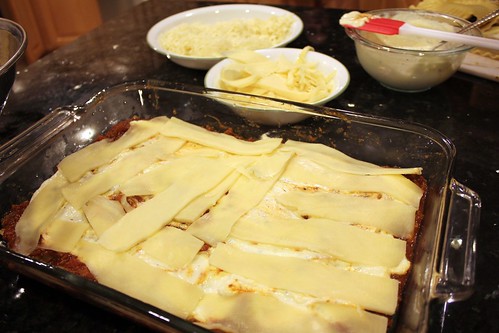

Cheeese time :D


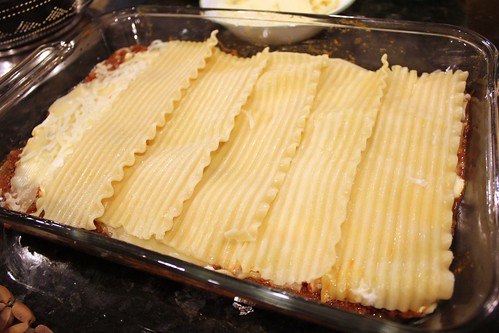
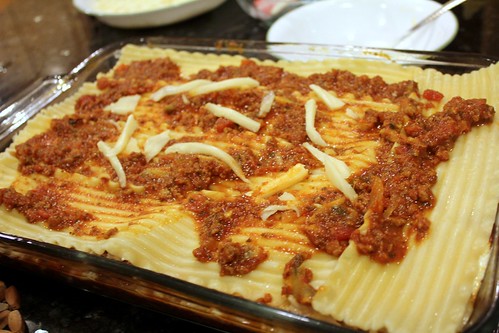
Throw on some more noodles.


Spread more sauce! (and cheese)


And the rest of the ricotta..


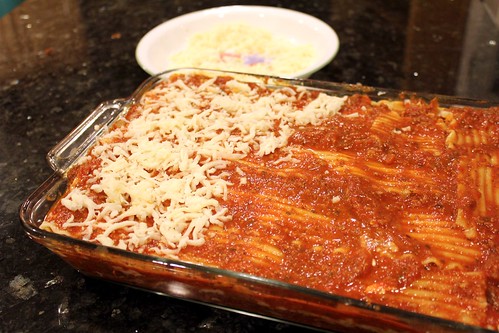
Repeat: Cheese, lasagna noodles, sauce


Top it off with the mozzarella cheese. I used shredded.


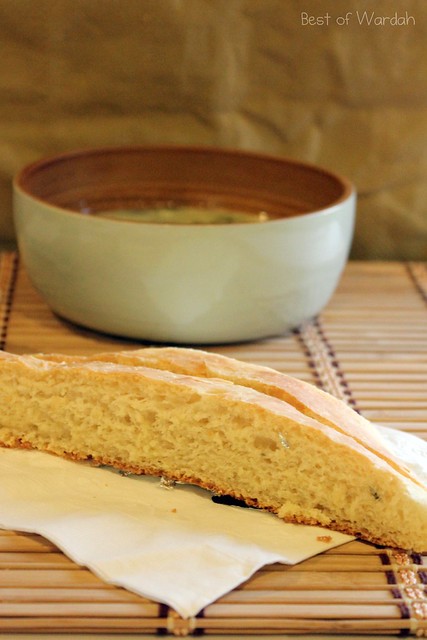
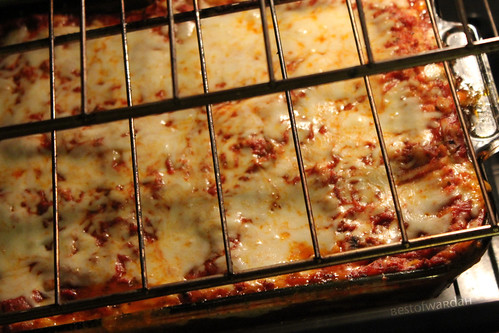
Bake, cool slightly, and serve.


Although putting together lasagna can be really fun, eating it is by far the best part :)


Recipe!

· 3/4 pound lean ground beef
· 1/2 cup minced onion
· 2 cloves garlic, crushed
· 1 (28 ounce) can crushed tomatoes
· 2 (6 ounce) cans tomato paste
· 2 (6.5 ounce) cans canned tomato sauce
· 1/2 cup water
· 2 tablespoons white sugar
· 1 1/2 teaspoons dried basil leaves
· 1/2 teaspoon fennel seeds
· 1 teaspoon Italian seasoning
· 1 tablespoon salt
· 1/4 teaspoon ground black pepper
· 4 tablespoons chopped fresh parsley
· 12 lasagna noodles
· 16 ounces ricotta cheese
· 2 eggs
· 1/2 teaspoon salt
· 3/4 pound mozzarella cheese, shredded
· 3/4 cup sliced monterey jack cheese


1. Cook ground beef, onion, and garlic over medium heat until well browned. Stir in crushed tomatoes, tomato paste, tomato sauce, and water. Season with sugar, basil, fennel seeds, Italian seasoning, 1 tablespoon salt, pepper, and 2 tablespoons parsley. Simmer, covered, for about 1 1/2 hours, stirring occasionally.


2. Bring a large pot of lightly salted water to a boil. Cook lasagna noodles in boiling water for 8 to 10 minutes. Drain noodles, and rinse with cold water. In a mixing bowl, combine ricotta cheese with egg, remaining parsley, and 1/2 teaspoon salt.


3. Preheat oven to 375 degrees F (190 degrees C).


4. To assemble, spread 1 1/2 cups of meat sauce in the bottom of a 9x13 inch baking dish. Arrange noodles lengthwise over meat sauce. Spread with one half of the ricotta cheese mixture. Top with a third of the monterey jack cheese slices. Spoon 1 1/2 cups meat sauce over cheese, and sprinkle with 1/4 cup mozarella cheese. Repeat layers, and top with remaining sauce and mozzarella cheese. Cover with foil: to prevent sticking, either spray foil with cooking spray, or make sure the foil does not touch the cheese.


5. Bake in preheated oven for 25 minutes. Remove foil, and bake an additional 25 minutes. Cool for 15 minutes before serving.

Thursday, August 25, 2011

Peach Crunch Cake

Every Wednesday, the local super market has their fresh produce arrivals and my parents also restock our fridge. So, when my dad unintentionally over loaded on peaches, we thought that there had to be some way to use them in bulk before they start to go bad. Peach cobbler was the first idea that came to my sister's head but when I stumbled upon this recipe by Bakerella, I knew we had to make it.

Peach Crunch Cake
As Bakerella dubbed the recipe, it is ridiculously easy. There is no mixing or folding or any complicated step involved in making Peach Crunch Cake. All you need to do is layer the ingredients and create this "cake."

First: Fresh peaches in syrup
Second: Yellow Cake Mix
Third: Butter
Fourth: Brown Sugar
Last: Almonds (or walnuts)
Bakerella's recipe called for canned peaches but we wanted to use our fresh peaches. I knew that canned peaches were nothing like fresh peaches, so we made our own. First we cooked a syrup out of water and sugar. Then we dipped the peaches into boiling water for a couple seconds and quickly moved them into chilled water, making it easier for the skins to slide off. After peeling the peaches, we cut them into small pieces and dropped them into the syrup.

Fresh out of the oven
We had to have the peach crunch cake with vanilla ice cream so my older sister bought some for us. The finished product was delicious and none of us could resist getting seconds. Well, some of us had thirds.


Make sure you try out this recipe on your own because it is seriously easy to make - and delicious. Enjoy!

Wardah

© Best of Wardah. Made with love by The Dutch Lady Designs.