Sunday, April 22, 2012

Peeta's Mini Cinnamon Apple Tarts


Hello everyone!

You all should be familiar with the book series - Hunger Games Trilogy.  Ever since the first book was made into a movie, "Hunger Games" has really become a household name.  I completely fell in love with the books when they first came out and so did all my friends.  So it wasn't surprising when I was invited to a Hunger Games themed party this weekend.  And it was even less surprising that we were all asked to bring Hunger Games themed food.  The beautiful host of the party had planned a creative menu and I decided I wanted to bring dessert - "Peeta's Apple Tarts."


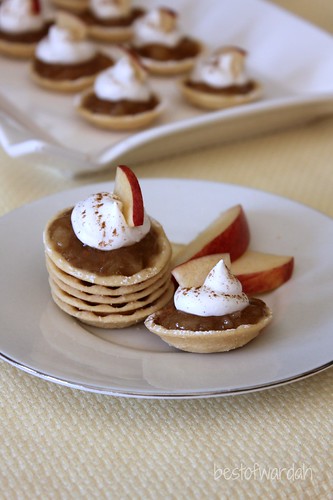
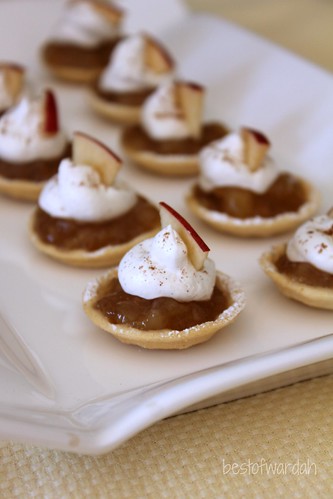
These adorable mini tarts were an absolute success!  They were super easy to make and had a beautiful presentation.  I was in a rush when I made them so let's just say I had to cheat a little.  Here's how I made them-


Peeta's Mini Cinnamon Apple Tarts

1 can apple pie filling
1 tub of Cool Whip, at room temperature
2 tablespoons of cinnamon
1 box mini pastry shells
1 apple
powdered sugar

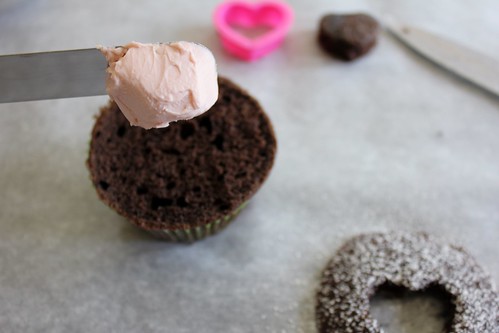
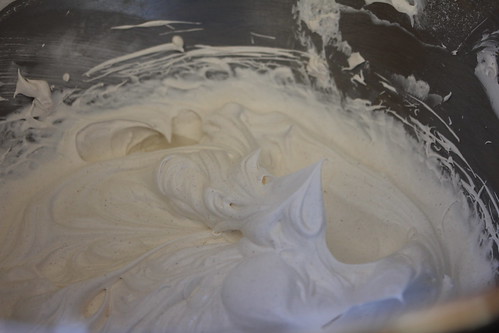
Step 1:  Chill the bowl of your mixer and whisk attachment in the freezer for around five minutes.  Then whip the Cool Whip and cinnamon together until stiff peaks form.  Be careful not to over beat the mixture!  Set aside in a cool place.


Step 2:  Meanwhile, open your can of apple pie filling and break the apple slices up using a fork until they are small chunks.  This is important because the pastry shells are too small to accommodate the apple slices.


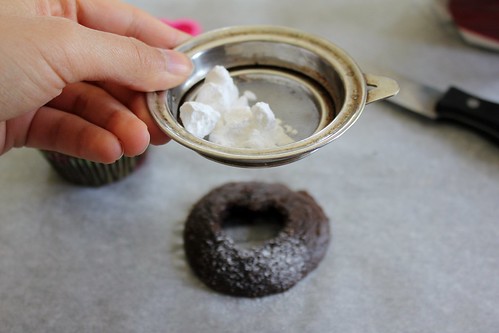
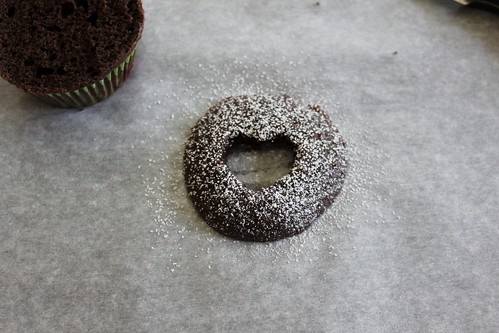
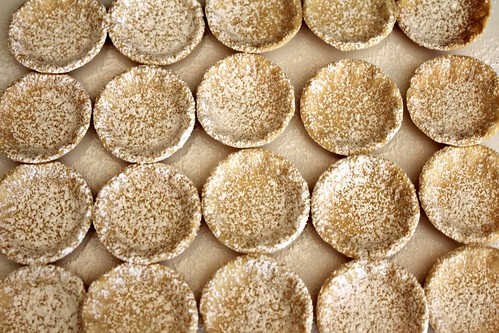
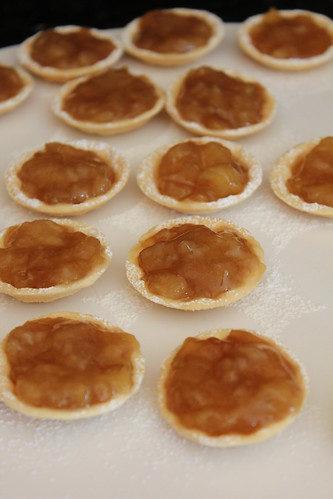
Step 3:  Dust the pastry shells with powdered sugar to make them sweet.  This step is necessary because the pre-made pastry shells are made neutral for both sweet and savory dishes.


Step 4: Then, spoon the chunky apple pie filling into the shells.


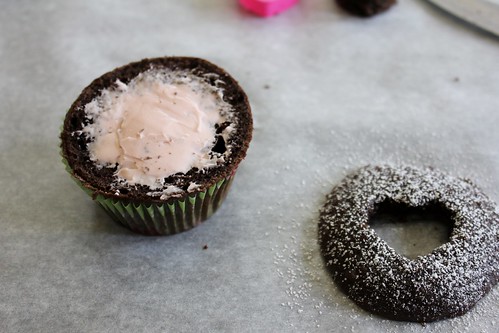
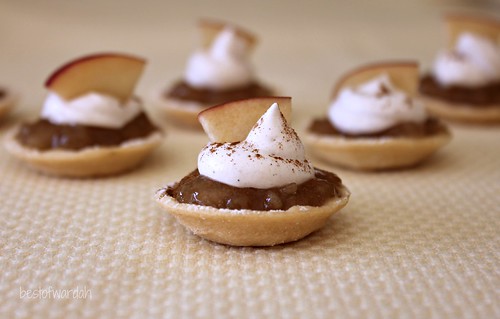
Step 5:  Fill a bag with the whipped topping, snip off the end, and pipe swirls in the center of the tarts.  Sprinkle the tarts with cinnamon powder and place a small slice of apple in the center.  Alternatively, drizzle the topping with caramel sauce and place caramel corn into the center.  Yumm!


Enjoy! And may the odds be ever in your favor!

Sunday, April 8, 2012

DIY: Heart Cutout Cupcakes


Hello everyone!

It's been a while since I last posted.  My break ended and once again, I was swamped with readings and school work.  Plus, I didn't get a chance to make anything post-worthy for a while.  Luckily, I had some pictures from before and I finally found time to sit down and write up a post.  Let's just hope I can continue posting during this quarter!

I made these cupcakes for my dad's birthday a week ago.  Yeah, I know, you guys were thinking that I made this for Valentine's Day or something.  I can explain... The truth is, my family doesn't celebrate birthdays.  When we do, it's really just an excuse to make something sweet to eat or an extravagant dinner to enjoy.  So when my dad's birthday came around, I remembered these adorable cupcakes I saw on the amazing blogger, Glorious Treats', site (she did make them for Valentine's).  I just couldn't resist!  Anyways, it's not like my dad doesn't deserve hearts on his special day.  Congratulations Dad!


I took a new approach to this tutorial.  I'm just going to sit back and let you look at these step-by-step pictures of the process.  Since making this adorable cupcake is super easy, I'm sure it'll be enough.  Be sure to leave questions in the comments below!  And let's get started!

Heart Cutout Cupcakes


Oh, by the way, I made chocolate cupcakes with strawberry cream cheese filling - heavenly!

Sunday, April 1, 2012

Vegetarian for a Week - Day 5 - Falafel and Hummus


I knew it was going to happen.  I knew that I wouldn't be able to make a post every day for an entire week.  Either something would come up, or I would be just too lazy.  I was surprised that I had even gotten five posts up in a row.  If you look at my history of posting, you would know that I'm not joking. 

What I can say on my behalf is that I really was super busy these past two days.  Plus, I didn't cook anything vegetarian so there would have been no point in posting.  I considered doing a smoothie post on Friday, but I thought that would just be a major let down.  So I'm making up for it today by sharing an amazing falafel and hummus recipe with you.

Before I get to the recipe and the conclusion of this past week, let me tell you something.  I went to a wedding yesterday and before I even realized it, I had already eaten some chicken.  This tells us that I'm not really cut out to be a vegetarian.  I had a great time this past week eating like one and I love vegetarian food, but I don't think I can resist chicken even for health reasons.  Let's just say that I did succeed in eating like a vegetarian for a week... a business week anyways.


Falafel is a very popular Mideastern food that is made out of garbanzo beans and spices.  Falafel isn't as well known as hummus so I thought it deserved an introduction.  Once cooked, the falafel look like slightly browned balls that are normally served in pita pockets with some toppings.  I love to top my falafel with hummus and sour cream. 

Falafel
Makes about 20 balls

Everything but the cumin seeds which I forgot. =\

Ingredients
1 (19 ounce) can of chickpeas (garbanzo beans)
1/2 large onion, roughly chopped (about 1 cup)
2 tablespoons finely chopped fresh parsley
2 tablespoons finely chopped fresh cilantro
1 teaspoon salt
1/2-1 teaspoon dried hot red pepper
4 cloves of garlic
1 teaspoon cumin
1 teaspoon baking powder
4-6 tablespoons flour
vegetable oil for frying

Chopped tomato for garnish
Diced onion for garnish
Diced bell pepper for garnish
Tahina sauce
Pita bread


Step 1:


Drain the canned chickpeas and place the chickpeas and the onions in the bowl of a food processor fitted with a steel blade. Add the parsley, cilantro, salt, hot pepper, garlic, and cumin. Process until blended but not pureed. 

Step 2:


Sprinkle in the baking powder and 4 tablespoons of the flour, and pulse. You want to add enough flour so that the dough forms a small ball and no longer sticks to your hands. Turn into a bowl and refrigerate, covered, for several hours. 


The finished mixture should have this consistency.  Make sure to stir it with a spatula or a spoon to pick up any of the flour and baking soda the blade missed. 

Step 3:


Form the chickpea mixture into balls about the size of walnuts. Heat 3 inches of oil to 375 degrees in a deep pot or wok and fry 1 ball to test. The oil has to be properly heated or the ball will fall apart. Then fry about 6 balls at once for a few minutes on each side, or until golden brown. Drain on paper towels.


Stuff half a pita with falafel balls, chopped tomatoes, onion, green pepper, and pickled turnips. Drizzle with tahina sauce. Or you can top it with hummus like me...


Hummus
Makes about 3 cups
(No pictures, sorry.  I was in a rush to feed my hungry and insistent family.)

Ingredients
2 garlic cloves, mashed and then minced
2 15-oz cans of chickpeas (garbanzo beans), drained and rinsed
2/3 cup of tahina sauce
1/3 cup lemon juice
1/2 cup water
1/4 cup olive oil
1/2 teaspoon of salt

In a food processor, combine the garlic, garbanzo beans, tahini, lemon juice, 1/2 cup water, and olive oil. Process until smooth. Add salt, starting at a half a teaspoon, to taste.  Hummus is really made based on personal taste, so after following this basic recipe, add what you think will make it taste better for yourself. You can serve hummus with pita chips or pita bread, or you can eat it topped on a falafel sandwich like I did. 

© Best of Wardah. Made with love by The Dutch Lady Designs.